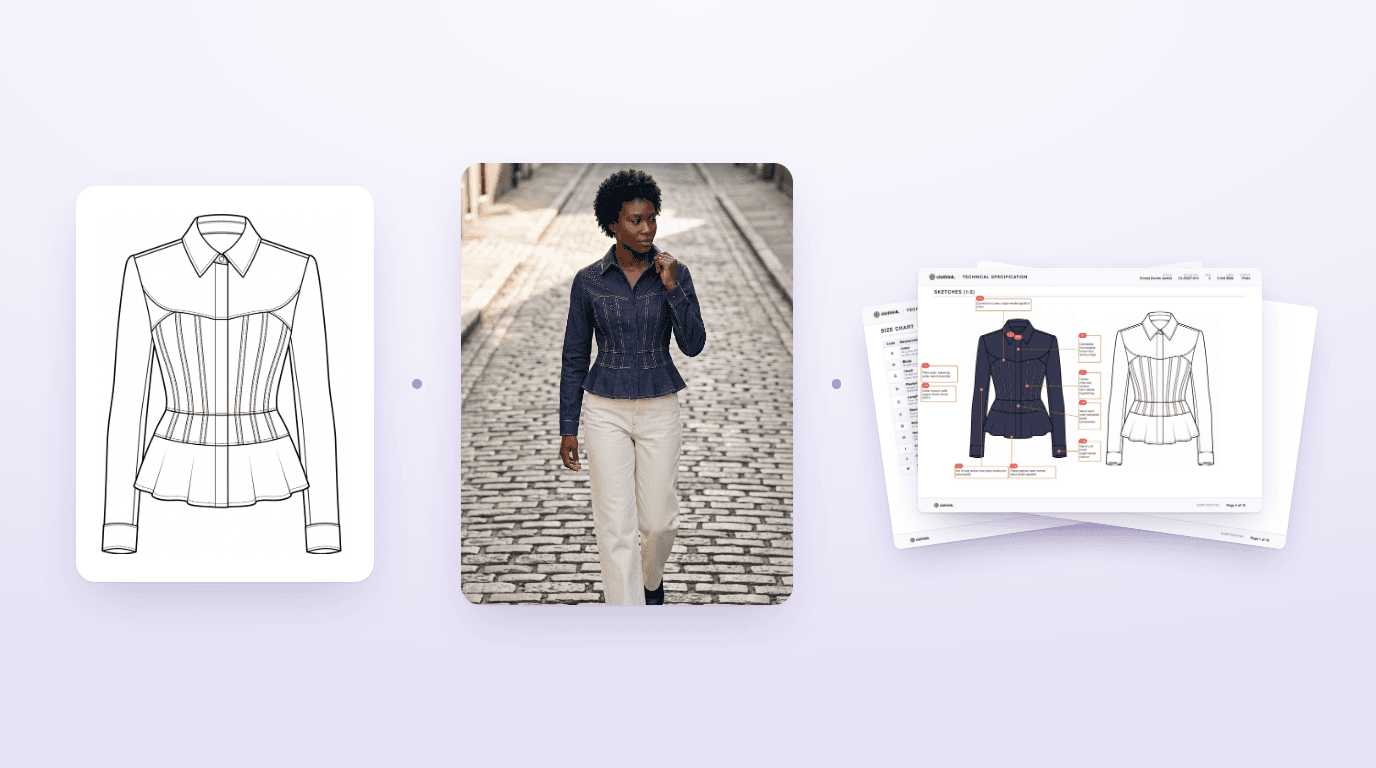
Mockupsclothink
How to Turn a Fashion CAD into a Photoreal Mockup with AI
- Product development
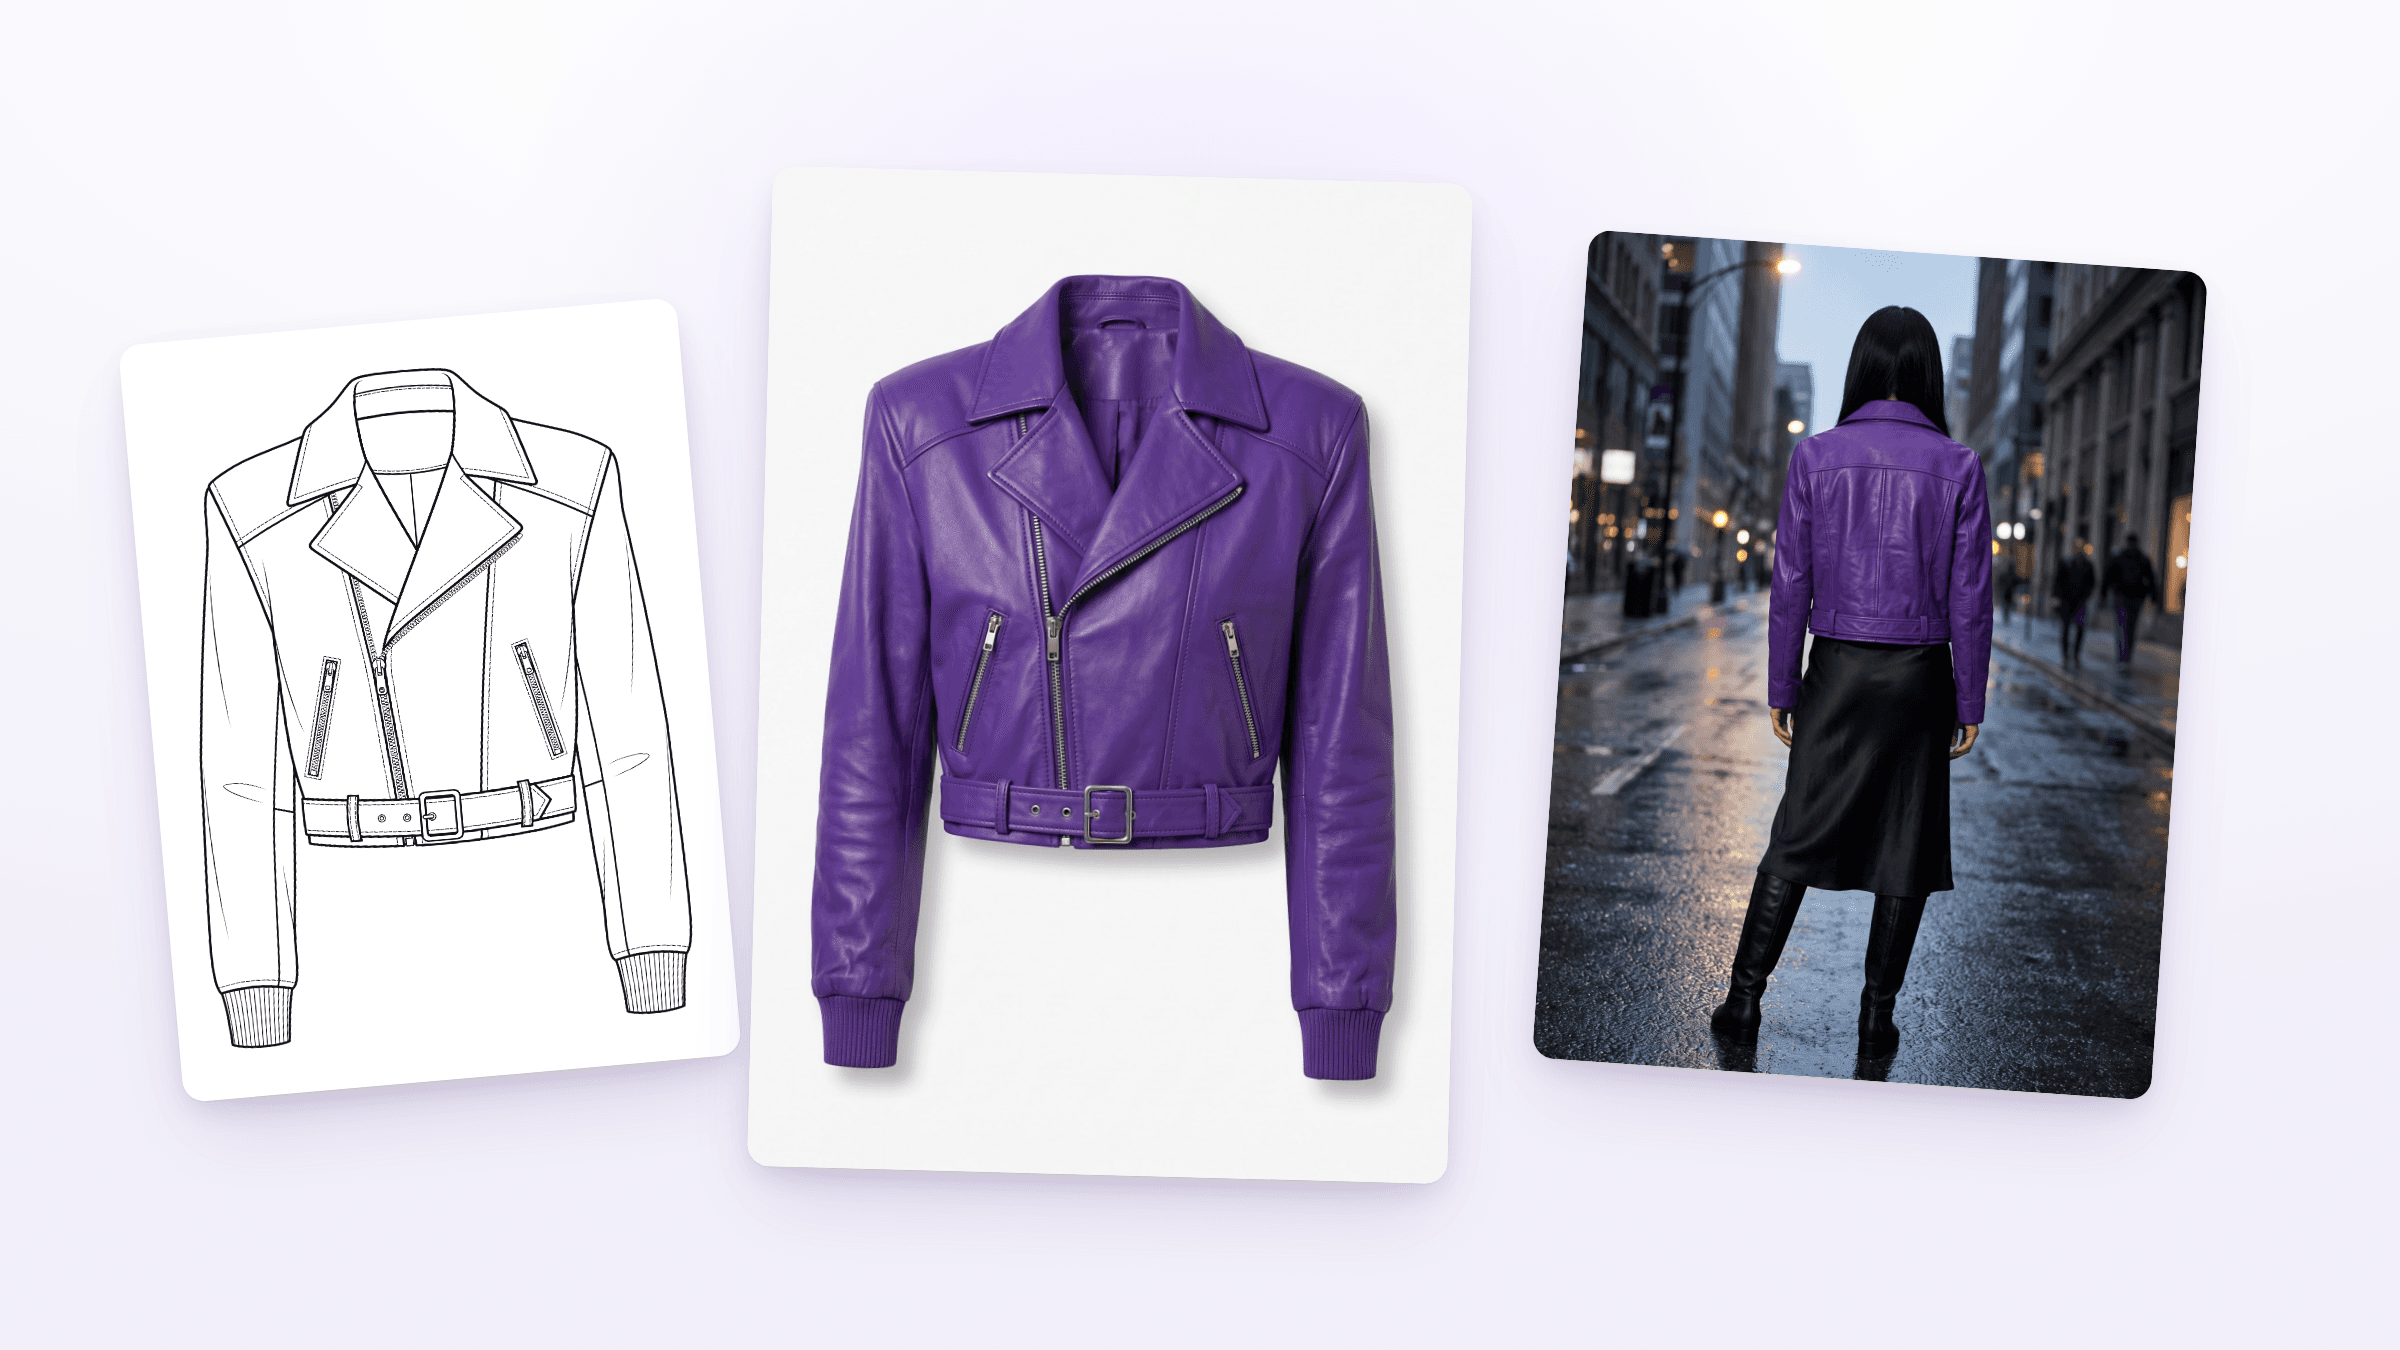
The jacket in this post doesn't exist yet. It started as a flat drawing with every seam, the zip and the belt, and clothink turned it into a photoreal product shot, a back view on a model and close-ups of the collar, buckle and cuff.
A drawing can't show how leather catches the light, what the back looks like, or whether the details still work together in a real material. A mockup lets you see those things before you pay for a physical sample.
This post shows how we made it, adds a simpler example with a hoodie, and covers what to check before you rely on any AI mockup. Updated 21 October 2026.
What an AI clothing mockup can and can't tell you
A mockup shows how a design is meant to look: proportion, colour, surface and how the details read together. It doesn't prove fit, scale or exact colour, and it doesn't simulate drape. Use it as a picture to agree direction with. The tech pack is the specification, and the sample is the proof.
Step by step: a purple nappa jacket from CAD to mockup
1. Start with the CAD
A CAD is the flat line drawing of a garment. We started from a front-view CAD of a cropped pilot jacket. Flat line art gives the closest match, because clear outlines, seams and hardware are easy to follow. A clean front and back gives the AI more to work from than a rough sketch.
2. Write the material brief
The drawing shows shape but not material, so a written description covers what it can't. This is the description for the jacket:
“Cropped pilot jacket in electric purple nappa leather, notch collar, asymmetric front with an exposed silver metal zip, two zip pockets at the waist, attached waist belt with a square silver metal buckle and eyelets, ribbed knit cuffs.”
We set the product shot to the front view, on a plain white studio background, at high detail. Say the colour and finish in words, as above. To pin down the shade, you can also add colours or a saved palette under More, in Colours. If you only have a short note, Enhance expands it into a fuller description for free.
3. Compare the product shot with the CAD

Put the two side by side and check detail by detail. Here the notch collar, the asymmetric zip, the two near-vertical zip pockets at waist height, the belt with its square buckle and eyelets, and the ribbed cuffs all match the drawing. The leather has the soft creasing of nappa, which a drawing can't show. Check proportions too, such as the crop length and sleeve width. Treat anything that differs from your CAD as an error to correct, not a design change.
4. Look at the other views

The back is where mistakes hide, because a front-only CAD says nothing about it. Here the back view shows a seamed back panel and a plain hem band, with no buckle at the back. That's the AI's reading of the front, so with a real design you'd compare it with your own back CAD. Check that the length, collar height, sleeve and cuff match the front, and that nothing from the front, such as a pocket, has appeared on the back.

Detailed views add close-ups of the parts a factory will ask about: the collar and zip, the buckle and eyelets, and the rib cuff. They're a good prompt for questions, such as the buckle finish or the rib width, but the wording and measurements for those belong in the tech pack.
5. Fix one part without redrawing the rest
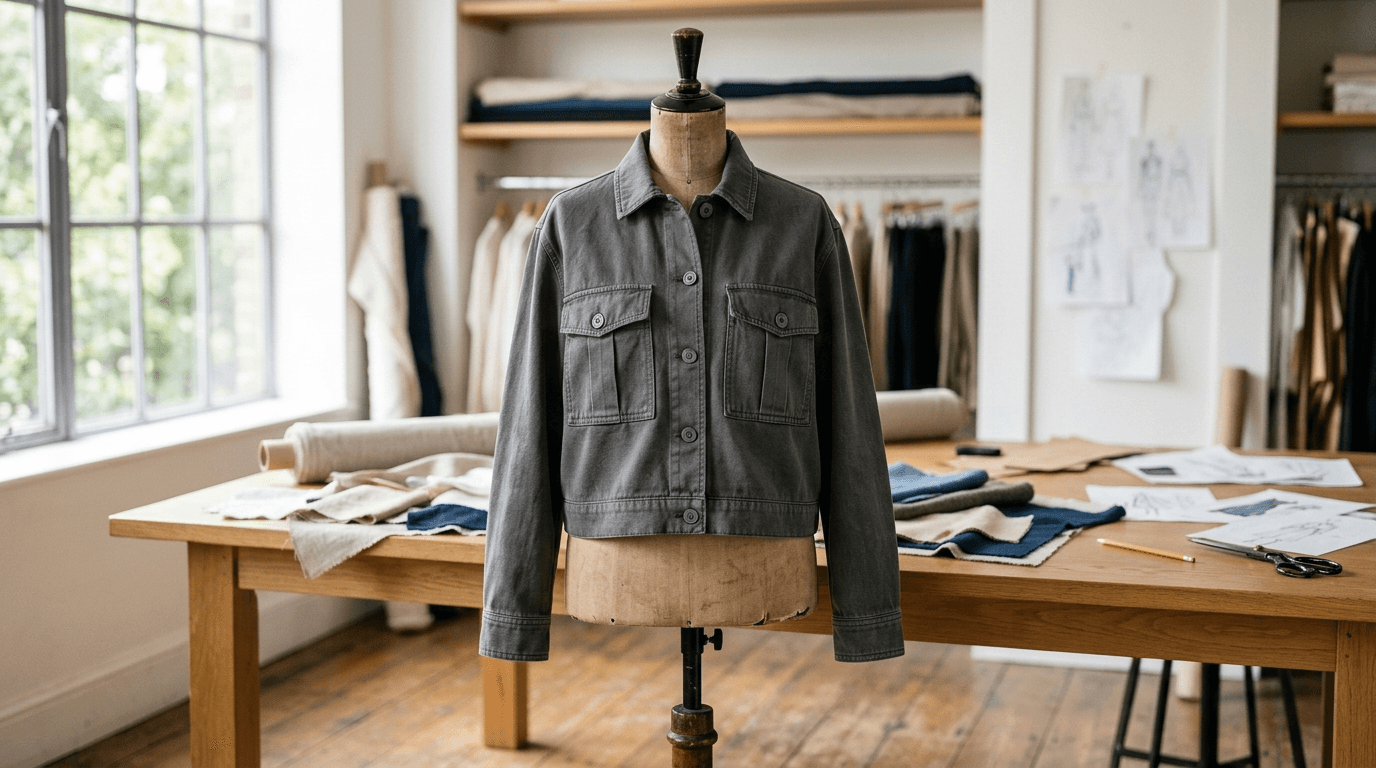
If one part is wrong, Precise edit lets you tap it, such as the collar or a pocket, or draw round an area, then describe the change. A slider compares before and after, and if nothing visibly changes, the tokens are returned. The jacket didn't need an edit, so here's Precise edit on a coloured sketch of a chore jacket. We added a flap to each hip pocket, made the buttons antique brass and made the collar larger, one edit at a time.

Precise edit works the same way on a mockup. It's aimed at the area you select, but check the result, because the rest of the picture can still shift slightly.
Once the product shot matches, create your first mockup free with your own CAD, or keep reading for what makes the result more accurate.
A simpler example: a hoodie as a ghost mannequin shot
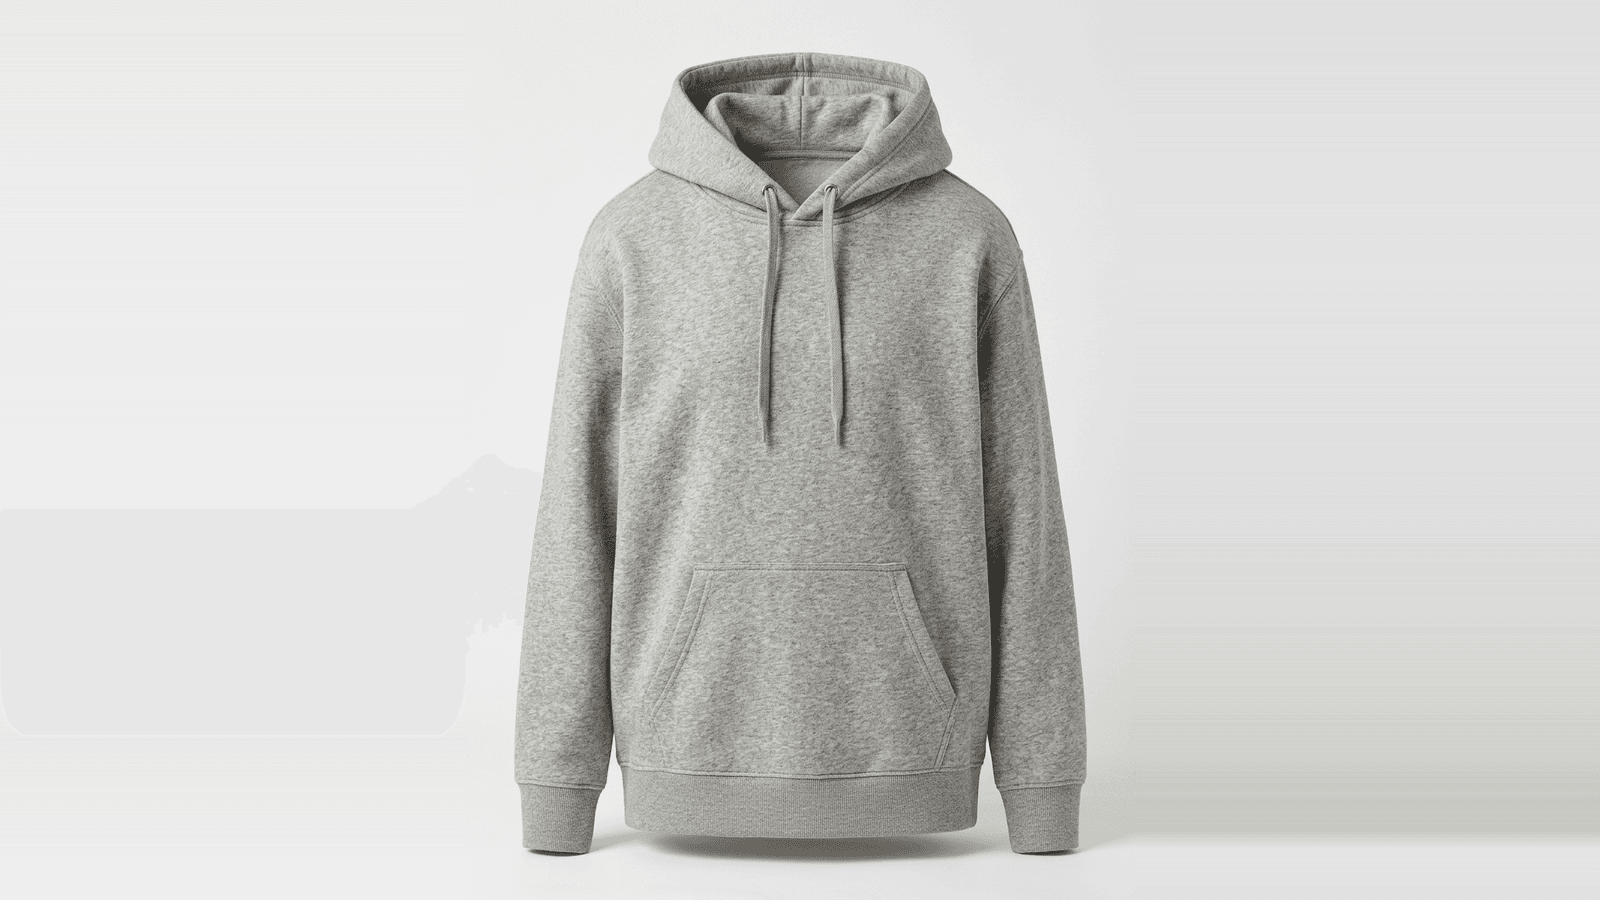
You don't need an unusual garment. We drew a flat of an everyday pullover hoodie (front and back) and described the fabric: “Heather grey marl brushed-back cotton fleece pullover hoodie, about 340 gsm. Flat cotton drawcord through two metal eyelets, kangaroo pocket, 1x1 rib cuffs and hem band. No logos, no print, no zip.” We chose a Product Shot, which is also called a ghost mannequin: a clean studio image with no model, on a studio white background.

The hood, the drawcord through its eyelets, the kangaroo pocket and the rib all carry over from the drawing. The fleece gets a believable marl and brushed texture, which the line drawing can't show. We drew this flat in clothink, but a CAD from any source works the same way. Check a result like this as you would the jacket: detail by detail against the drawing.
How to get a more accurate AI clothing mockup
What you give clothink decides how closely the mockup follows your design.
| What you start with | What works | What to watch |
|---|---|---|
| Detailed front and back CAD | Closest match for seams, hardware and proportion | Still check every detail against the drawing |
| Front-only CAD | Good front view | The back is inferred, so check it before you rely on it |
| Hand sketch | Fine for the overall shape | Fine detail may be simplified or reinterpreted |
| Written description only | No drawing needed, and Enhance adds detail for free | Less control, so expect to adjust |
| CAD plus a fabric photo | Shows the garment in your own fabric. One swatch covers the whole garment | It shows how the fabric looks. It isn't a lab dip or a textile simulation, and it can't be combined with an all-over print |
More things you can do
- Product shot or on-model. Show the garment on its own (ghost mannequin), or on a model in a chosen scene, pose and background.
- Detailed views. Close-ups of the collar, buckle, cuff or any other part you want to question.
- Your own fabric. Add a photo of a swatch and the garment is shown in that cloth.
- Models and outfits. Built-in Models are free on every plan. Saving your own Models, and making outfit mockups of two to five garments, need a paid plan.
- Video. Short clips from an approved mockup. The movement is AI-generated, not a physical fabric simulation.
Mockup generator, generic AI images, 3D software or mockup templates?
These tools answer different questions, so this compares the general categories rather than named products. For software by stage, see our fashion design software guide.
| What to compare | Generic AI image tools | 3D design software | Print-on-demand mockup templates | clothink mockups |
|---|---|---|---|---|
| Best for | Quick concept images; many accept reference images and edits | Checking fit and drape from patterns | Placing a logo or print on an existing T-shirt or hoodie | Turning an original CAD, sketch or description into an image of a garment not yet made |
| Starting point | A prompt, sometimes a reference image | Pattern pieces, fabric settings and an avatar | A stock garment photo or template | Your CAD, sketch or description |
| Depends on | How well you can steer each image | Accurate patterns, fabric data and avatar | The templates available | The quality of your drawing and brief |
| Fit and drape | Not simulated | Simulated from the inputs | Not applicable | Not simulated |
If you need to check fit before sampling, 3D software built on real patterns is the right tool. If you're putting artwork on a standard blank, templates are simpler. If your garment doesn't exist yet and you want to see it, a mockup generator is the closer fit.
Keeping the mockup with its tech pack
The mockup is a picture of intent. The tech pack carries the measurements, materials and construction notes. In clothink you link the mockup to the style, so the picture and the spec stay together. Send the supplier the exported tech pack. The other files on the style stay internal unless you share them. Anything AI-drafted still needs a person's review before it goes out (how an AI tech pack works).
To see where this goes next, we took the same jacket all the way to a tech pack in From AI fashion sketch to tech pack, and our tech pack example reads a finished pack page by page.
What it costs
A standard mockup costs 1 token. The Free plan starts with 10 tokens and needs no card, and Enhance is free. Longer outputs such as video cost more, and the price shows on the button before you generate. See the pricing page.
Why clothink fits
- Your drawing, not a template. Start from your own CAD, a sketch or a description.
- Every view you need. Product shot, on-model, back and Detailed views of the same design.
- Fix one part. Precise edit changes a collar or pocket and keeps the rest.
- Picture and spec together. Link the mockup to its style and draft the tech pack from it.
Common questions
Can AI turn a fashion sketch into a realistic clothing image?
Yes. clothink can turn a CAD, a flat sketch or a written description into a realistic product image or an on-model image. The result shows how the design is meant to look, but it isn't proof of fit, scale or exact colour, so check it against your drawing.
Do I need a technical CAD?
No. You can start from a hand sketch or describe the garment in words. A detailed CAD gives the closest match, especially for seams and hardware, and a front and back drawing helps most with the back view.
What is a ghost mannequin mockup?
A clean studio image of the garment as if an invisible mannequin were wearing it, with no model. In clothink it's called a Product Shot. Use it to see the garment itself, and use an on-model mockup to see it worn.
Can AI generate front and back views of the same garment?
Yes, you can generate extra views of the same mockup. If your CAD only shows the front, the back is the AI's reading of it, so compare it with your own back drawing and correct anything that differs.
Can I show my own fabric on a mockup?
Yes. Upload a photo of your fabric, or pick a saved one, and clothink shows the garment in it. One swatch covers the whole garment, and it can't be used together with an all-over print. It shows how the fabric looks. It isn't a lab dip or a textile simulation.
How much does an AI fashion mockup cost?
A standard mockup costs 1 token. The Free plan starts with 10 tokens and needs no card. Video and other longer outputs cost more, and the price shows before you generate.
Can I use AI mockups instead of physical samples?
No. A mockup helps you explore and agree a design before sampling, but it doesn't simulate fit, drape or construction. You still need a tech pack and a physical sample before production.
Create your first clothing mockup
Upload a CAD or a sketch, or describe your idea. Start on the Free plan with 10 tokens, no card needed.